Introduction
Any contributor can preview changes from their own fork. The first part of this guide is mainly relevant for people who can edit the main repository directly and want to make sure their work happens on their fork instead. If you already work on your own fork, you can skip directly to Preview your changes using GitHub Actions or Preview your changes using GitHub Codespaces.
Make changes on your fork
If you have write access to the main repository, changes made by clicking on the pencil icon can be committed to a branch on the main website itself. That is often fine, but it is not what you want if you prefer to preview changes from your own fork.
1. Make sure you have forked the main branch
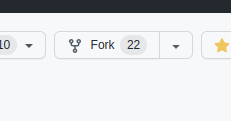
Click on the ‘fork’ button in the top right corner to find out. If a fork is present under your personal GitHub ID, click on it.
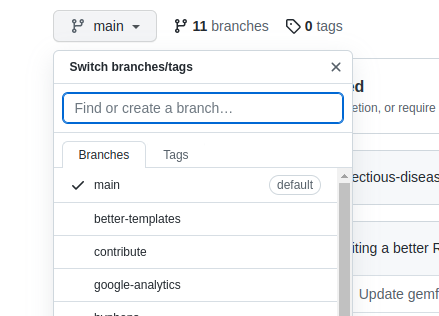
Make sure you are in the main branch of your fork, seen in the left top corner.
2. Make sure your fork is up to date
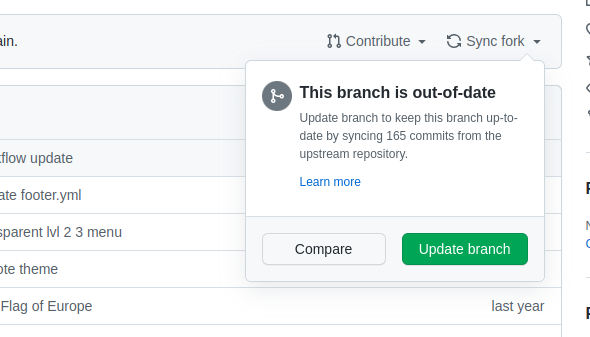
Click on the ‘sync fork’ button to ensure you have the latest changes of the main branch in your fork. ‘Update branch’.
3. Make changes
You can go to a folder and create a new file, or edit an existing file. See Contributing using GitHub and Creating a new page for more information.
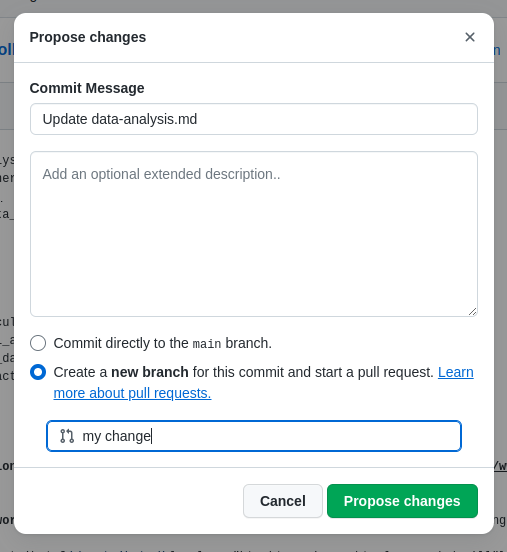
4. Commit to a new branch
This step is important. Make sure to commit to a new feature branch which you name in a logical way.
Preview your changes using GitHub Actions
To preview a branch on your fork, you need to trigger the repository’s existing GitHub Pages workflow manually.
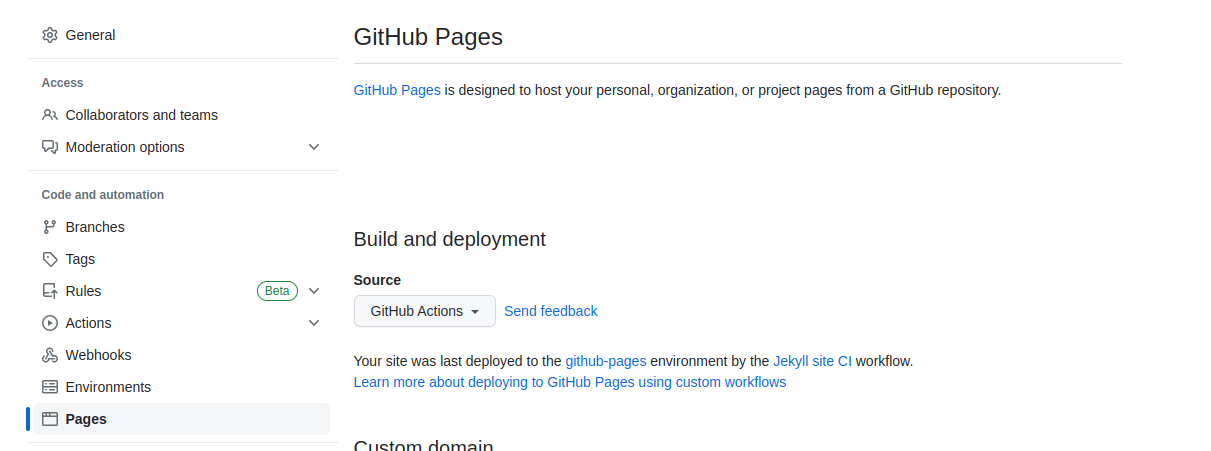
- Go to
Settings > Pagesin your fork and make sure the site is published from GitHub Actions. - If you want to deploy a feature branch instead of the default branch, go to
Settings > Environments > github-pagesand remove the restriction under Deployment branches. - Go to the
Actionstab of your fork and open theJekyll site CIworkflow. - Click Run workflow. This is the GitHub interface for the
workflow_dispatchtrigger that is already defined in the workflow file; you do not need to enable anything extra for it. - Select the branch with your changes and start the workflow run.
- Open the completed workflow run and use the deployment link shown in the workflow graph or the
View deploymentlink to open the preview site.
Preview your changes using GitHub Codespaces
GitHub Codespaces is another way to preview your changes without setting up Ruby or Docker on your own computer.
- Open your fork on GitHub or the and switch to the branch that contains your changes.
- Click
Code, open theCodespacestab, and create a new codespace for that branch. -
In the codespace terminal, install the site dependencies:
bundle install -
Start the local preview server from the repository root:
bundle exec jekyll serve - Open the preview by clicking the forwarded port link for port
4000. If it does not open automatically, go to thePORTStab in the codespace and open port4000from there. - Keep the server running while you edit files. The preview will refresh automatically after you save your changes.
Open a Pull Request (PR) with your changes
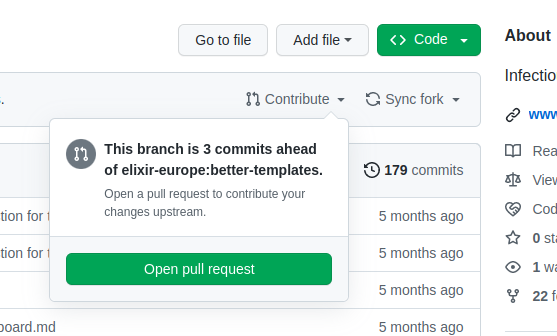
Got to your newly created branch and click ‘Contribute’. This will create a PR for the main repository.
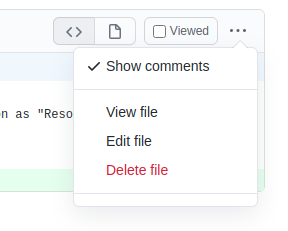
You can always make changes after the creation of this pull request by going to the files changed tab

and clicking on the 3 dots to edit the file again. After committing new changes to your branch, run the Jekyll site CI workflow again from the Actions tab to update the preview.